Best Practices for Cleaning Interlocking Floor Tiles
If you’re like me, your garage is more than just a spot to park your car. It’s a workspace, storage solution, or even a spot for family projects and hobbies. After upgrading to interlocking floor tiles in my own garage, and helping others do the same, I’ve seen firsthand how these tiles can completely transform not just the look but the function of a garage.
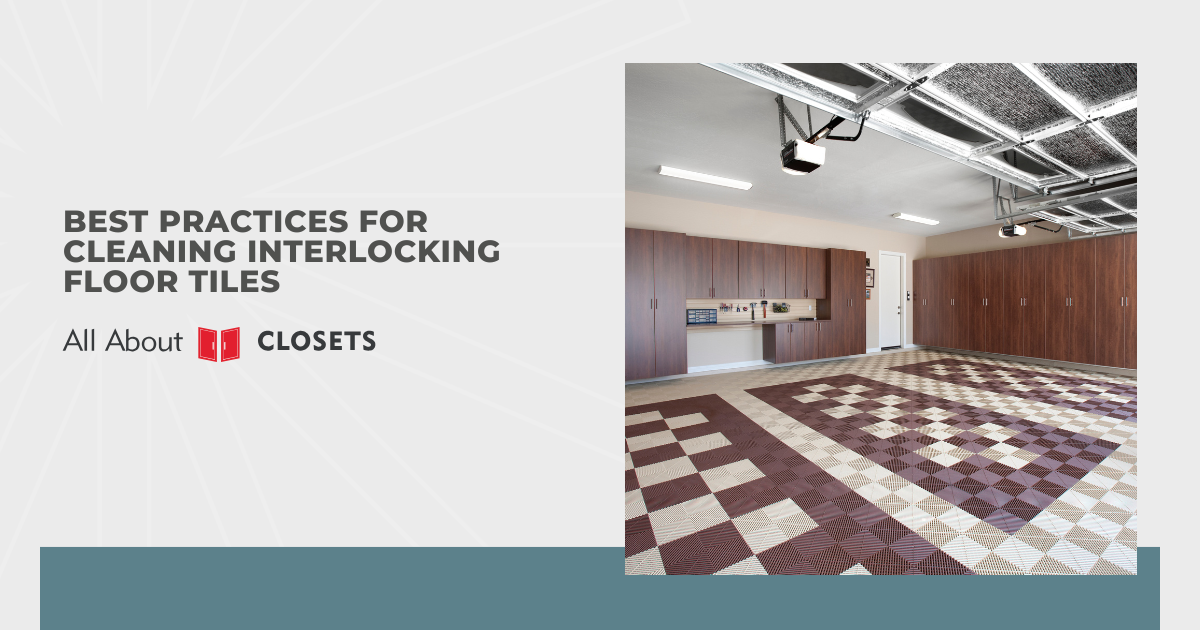
Interlocking floor tiles are durable, easy to maintain, and give the whole garage a finished feel. Still, keeping them in top shape takes the right care. After plenty of research, hands-on experience, and learning from a few mistakes, I’ve gathered the best cleaning tips to keep your garage floor looking new.
- Routine cleaning: Daily & weekly care
- Deep cleaning: Monthly or as needed
- Spot treatments: Stains, grease & scuffs
- Preventive maintenance: Seasonal & long-term care
- What to avoid: Common cleaning mistakes
If you want to get the most out of your investment, keep reading for proven advice you can trust.
Routine Cleaning: Daily and Weekly Care
Getting into the habit of regular cleaning is the easiest way to prevent dust, grit, and stains from taking over your interlocking floor tiles. Here’s what has worked best in real garages:
- Sweep or dry mop daily or as often as you use the garage: A soft-bristle broom or microfiber mop will catch dust, sand, pet hair, and debris before they get ground in or scratch the surface.
- Vacuum weekly: Use a vacuum with a hard floor setting and no beater bar. This is especially useful for catching fine particles, sand, and even small gravel that sweeping sometimes leaves behind.
- Spot clean as soon as you notice spills: For water, drinks, or other liquids, a damp microfiber cloth with mild detergent keeps tiles from staining or getting sticky.
- Wipe down tire tracks and shoe prints: Especially during rainy or muddy days, these can add up quickly.
- Pay attention to corners and seams: Dust and dirt tend to settle where tiles meet or along baseboards. Use a handheld vacuum or a brush to get into these harder-to-reach areas.
- Inspect for buildup: Lift up a tile now and then to check underneath, especially in high-traffic zones or where you park.
A little bit of attention on a regular basis makes deep cleaning much easier later on and helps prevent long-term damage.
Deep Cleaning: Monthly or As Needed
Even with good daily habits, a deeper cleaning session is important to keep your interlocking floor tiles looking their best. This is especially true in garages, which often see oil drips, salt, and all kinds of stubborn dirt. When your floor starts to look dull or gritty, try this step-by-step routine:
- Clear the surface completely: Move vehicles, tools, and storage bins to one side so you can clean the entire floor.
- Sweep or vacuum thoroughly: Remove as much loose debris as possible before introducing moisture.
- Use a pH-neutral cleaner mixed with warm water: This type of cleaner is safe for most polymer and PVC interlocking floor tiles and will not dull the finish or degrade the material.
- Mop with a microfiber or sponge mop: Work in manageable sections. Avoid letting puddles form and change the mop water as soon as it looks dirty.
- For sticky or greasy spots, scrub with a soft brush: Focus on corners, around workbenches, and near garage doors where dirt is likely to build up.
- Rinse with clean water: Go over the tiles with a damp mop using only water to remove any cleaner residue.
- Dry the floor completely: Use towels, a dry mop, or simply leave the garage door open for ventilation. Avoid walking or parking on the floor until it is fully dry to prevent tracking in more dirt or creating slippery spots.
Studies show that regular deep cleaning with gentle products can help extend the life of interlocking floor tiles by removing abrasives and preventing chemical buildup.
Spot Treatments: Stains, Grease, and Scuffs
No matter how careful you are, stains and marks are part of garage life. The key is knowing how to tackle them before they become permanent eyesores on your interlocking floor tiles. Here’s my personal toolkit for common problems:
- Oil and grease stains: Use a degreaser that is safe for plastic and rubber tiles. Spray directly on the spot, let it soak for a few minutes, then scrub gently with a soft-bristle brush.
- Scuff marks from shoes or tires: A melamine sponge (magic eraser) or a cloth dampened with diluted vinegar can lift these marks. Always use gentle pressure to avoid scratching.
- Rust spots: Apply a paste of baking soda and water, let it sit for about 10 minutes, then wipe clean. If the spot remains, repeat as needed.
- Paint or adhesive drips: For dried paint, carefully use a plastic scraper and follow up with a cloth soaked in warm soapy water. Avoid metal tools that can gouge the surface.
- Mold or mildew: Mix equal parts water and white vinegar in a spray bottle, spritz the affected area, let sit for a few minutes, then wipe clean.
- Persistent stains: For anything stubborn, try a specialized tile cleaner recommended by the tile manufacturer. Always rinse thoroughly after treatment.
Acting quickly and using the right tools makes stain removal much easier and preserves the finish of your tiles.
Preventive Maintenance: Seasonal and Long-Term Care
A little prevention saves a lot of cleaning time and hassle. Interlocking floor tiles are built for heavy use, but some smart habits will keep them looking sharp for years:
- Lift and clean under tiles every few months: Especially in high-traffic areas or where you store garden tools, pop up a few tiles and vacuum or mop underneath to prevent grit or moisture buildup.
- Place entry mats at all garage doors: These trap sand, leaves, moisture, and mud before they reach your floor, dramatically cutting down on cleaning.
- Rotate tiles in high-wear areas: If you notice certain sections (like where your tires rest) wearing faster, swap those tiles with less-used ones for even wear.
- Protect the floor from heavy equipment: Use furniture pads, rubber mats, or plywood under tool chests, jack stands, and other heavy gear.
- Address drainage and water leaks: Make sure your garage is well-sealed and rainwater is directed away from the foundation to avoid standing water that can seep below your tiles.
- Inspect and clean garage door seals: This helps keep dust, insects, and water out, protecting the edges of your interlocking floor tiles.
Industry research consistently shows that proactive care, especially keeping moisture and grit from settling underneath, greatly extends the lifespan and appearance of garage modular flooring.
What to Avoid: Common Cleaning Mistakes
Knowing what not to do is just as important as following best practices. In my experience, these are the most common mistakes that can lead to costly repairs or shorten the life of your interlocking floor tiles:
- Avoid using indoor pressure washers: High-pressure water can force moisture beneath the tiles, encouraging mold or causing the tiles to separate.
- Never use harsh chemicals like bleach or ammonia: These can discolor, weaken, or even warp the tiles over time.
- Don’t scrub with metal brushes or abrasive pads: These will scratch and dull the finish, making tiles look old before their time.
- Skip soaking or flooding the floor: Too much water can damage the tile system and promote mildew underneath.
- Be careful with hot objects or open flames: Dropping hot tools or using torches on or near the tiles can cause melting or deformation.
Gentle, consistent cleaning and using the right products will help you avoid problems and get the most from your investment.
Conclusion
Interlocking floor tiles have become one of my favorite upgrades for a garage. They look fantastic, are easy to care for, and stand up to the daily demands of real life. With a good routine of sweeping, deep cleaning, fast stain removal, and smart prevention, your garage floor can look as good as new for years. Remember to follow your tile manufacturer’s care recommendations, but these tips will give you a strong foundation for keeping your interlocking floor tiles clean, safe, and ready for whatever project or adventure comes next.

George obtained a Master of Science Engineering Degree from New Jersey Institute of Technology. After graduation, he worked at AT&T Bell Labs and Lucent Technologies after the company split. With an extensive background in construction management and ergonomic space design, spanning residential and commercial, designing and installing closets in New Jersey is second nature for him.